
Guide to Wiring Bulgin Vandal Resistant Switches for Computers
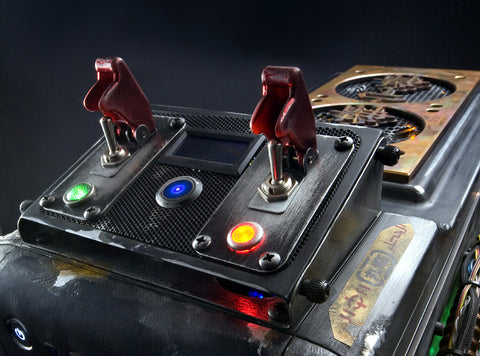
Manufactured from Stainless Steel, the extensive range of BULGIN vandal resistant security switches are the most popular within the Case and PC Modding community. They’re available from most online PC Hardware & Mod retailers and offered in three profiles – prominent, domed and low profile. The push button illuminates in the specified color.
The momentary switch can be used as Reset or Power on your motherboard. The LED can be connected to your POWER or HDD activity on your motherboard. The illuminated versions are available in dot and ring LED indication and a variety of illumination colors. They offer a smaller 16mm diameter version too.
BULGIN started in 1923 by A.F. BULGIN OBE, the company was founded by the late Arthur Bulgin OBE, a life member of the Royal Society of Arts and of the Institute of Electrical and Electronic Engineers, and one of the six founder members of the Radio and Electronic Components Manufacturers’ Federation (RECMF). He was a man of strong principles and integrity who soon established a reputation for providing the highest level of service to customers and for secure and rewarding employment.” This has lead to the creation of what we know and love as the BULGIN switch.
Here is the guide to wiring a Bulgin Vandal Resistant Push Button Switch to a Computer.

Here is the screw terminals at the back of the Bulgin MPI001 Series push button switch. The color of a Bulgin’s “water proof” insert designates the color of the LED inside. This switch has Blue LED.

You can insert bare wire leads into the four screw connections.
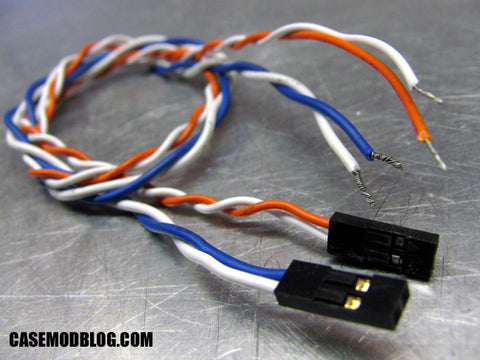
You will need two “2-pin” motherboard connections to use a Bulgin Momentary switch as your main Power or Reset.
You can purchase Red / Black “2 pin” motherboard connectors, HERE
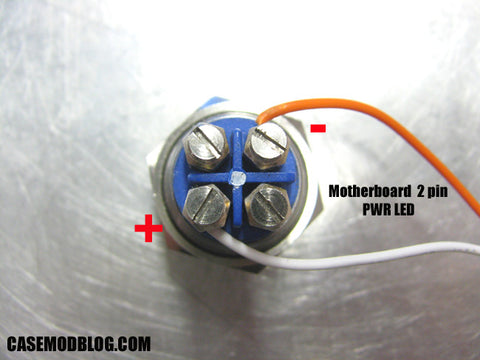
Two of the four screw connections are for powering the LED, these are located in opposing corners and the only connections labeled (+) and (-).
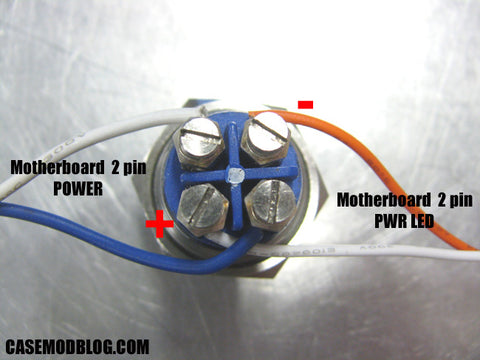
The other two connections for the switch, are not labeled.
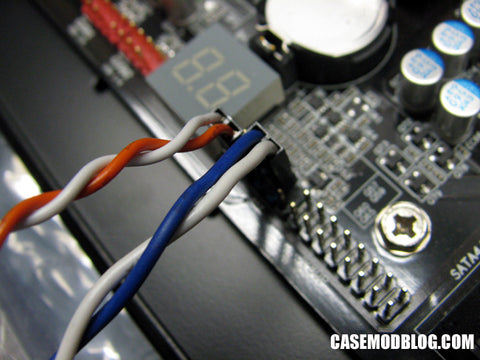
Connect the Switch (On/Off) connection to the 2 pin connection on the Motherboard, labeled PWR or POWER. You can connect the LED connection to either the 2 pin PWR LED or HDD activity connection.
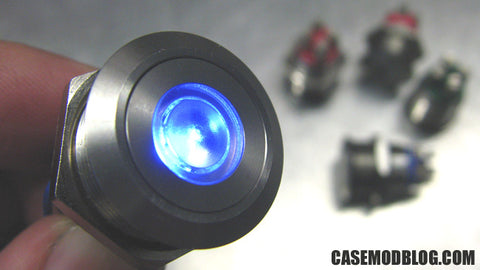
Illuminated Vandal Resistant Switch LEDs come in either “RING” or “DOT” style and a variety of colors including Blue, Red, Orange, Green, UV Purple, and White. As you can see, they’re easy to install and look fantastic!
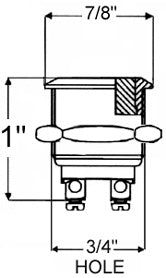
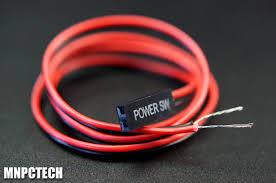
If you want something more simple and without illumination, MNPCTECH offers a cost effective non-illuminated version, HERE. It's a Nickel Plated 22mm Vandal Resistant Power Switch. SPST (Push for Momentary On) 2 amps. 48 volts.

Diameter: 7/8"
Mounting hole diameter: 3/4"
Length: 1-1/8"O/A

Roy
Nice mod at last I found the tutorial for the cable connection in here :) btw do you have tutorial for 5pin switch? It has NC, NO, C, +, & – connection.